 Save to Pinterest
 The first whiff of rosé velvet cake batter wafting through my kitchen surprised me—it's equal parts playful and sophisticated. I wasn't setting out to bake for a big event, just experimenting with spring flavors while humming along to my favorite playlist. What began as a simple pink velvet test turned into an accidental masterpiece when my neighbor peeked in (lured by the smell) and insisted the cake deserved a gold crown. I can still remember measuring out the luster dust with a touch of disbelief, holding my breath as the shimmering drip transformed an ordinary afternoon into something fit for a celebration. There's something magical about discovering a new showstopper by happy accident.
One rainy Saturday, I decided to bake this cake for my best friend's bridal shower, prepping everything while she nervously practiced her vows in the other room. The kitchen quickly filled with laughter as her younger sister tried (and failed) to resist swiping a finger of buttercream. That afternoon, the air felt heavy with anticipation and powdered sugar, and this cake became a centerpiece around which confessions, hugs, and toasts were shared.
Ingredients
- All-purpose flour: Gives the cake its structure; I always sift it to keep the crumb light.
- Granulated sugar: Classic sweetness—don't swap for brown sugar if you want the color to stay true.
- Baking soda: Essential lift; measure carefully or the cake will dome unevenly.
- Fine salt: Enhances flavors but disappears, so don't skip it.
- Unsweetened cocoa powder: Just a spoonful deepens the flavor and adds a subtle earthiness to the pink hue.
- Vegetable oil: Keeps the cake incredibly moist, even days after baking.
- Eggs: Bind everything together—let them come to room temperature for a smoother batter.
- Buttermilk: Tangy richness makes the crumb plush and tender.
- Rosé wine: Choose a dry or sparkling style; the subtle floral notes make all the difference.
- Vanilla extract: Adds warmth and depth; quality matters here.
- White vinegar: Reacts with the baking soda for a fine, airy texture.
- Pink or rose gel food coloring: Start with a toothpick's worth and build up—go slowly!
- Unsalted butter (for buttercream): Beat until practically white for the silkiest frosting.
- Powdered sugar: Sift first to avoid lumps in your buttercream.
- Heavy cream (for drip): Loosens up the chocolate for perfect, dramatic drips.
- White chocolate chips: Sweet but not cloying—melt gently to avoid seizing.
- Edible gold luster dust: Invest in the real, edible stuff; don't compromise here.
- Vodka or clear lemon extract: Helps suspend the luster dust into a paintable gold shimmer.
Tired of Takeout? 🥡
Get 10 meals you can make faster than delivery arrives. Seriously.
One email. No spam. Unsubscribe anytime.
Instructions
- Get the Pans Ready:
- Turn on your oven to 350°F(175°C) and line up three 8-inch cake pans with parchment—greasing the sides helps the cakes release seamlessly.
- Mix Your Dry Ingredients:
- Sift together the flour, sugar, baking soda, salt, and cocoa powder, breathing in that comforting, chocolatey aroma.
- Whisk the Wet:
- In a second bowl, whisk oil, eggs, buttermilk, rosé, vanilla, and vinegar until glossy and uniform.
- Combine and Tint:
- Fold the wet mixture into the dry, then gently swirl in food coloring until you get your ideal blush shade.
- Pour and Bake:
- Divide the batter between the pans and bake for 30-35 minutes; the cakes will spring back when ready.
- Cool Completely:
- Let cakes cool 10 minutes before turning out onto a wire rack so they don't crack—full cooling is a must before decorating.
- Buttercream Time:
- Beat your butter until nearly snow-white, then add powdered sugar gradually; drizzle in rosé, vanilla, and a pinch of salt for a fluffy, dreamy finish.
- Assemble and Crumb Coat:
- Stack and frost the layers, add a crumb coat, then chill so decorating is a breeze and crumbs stay put.
- Final Buttercream:
- Spread the last layer of buttercream for a smooth finish—don't worry if it's not perfect; the gold drip hides a lot.
- Make the Gold Drip:
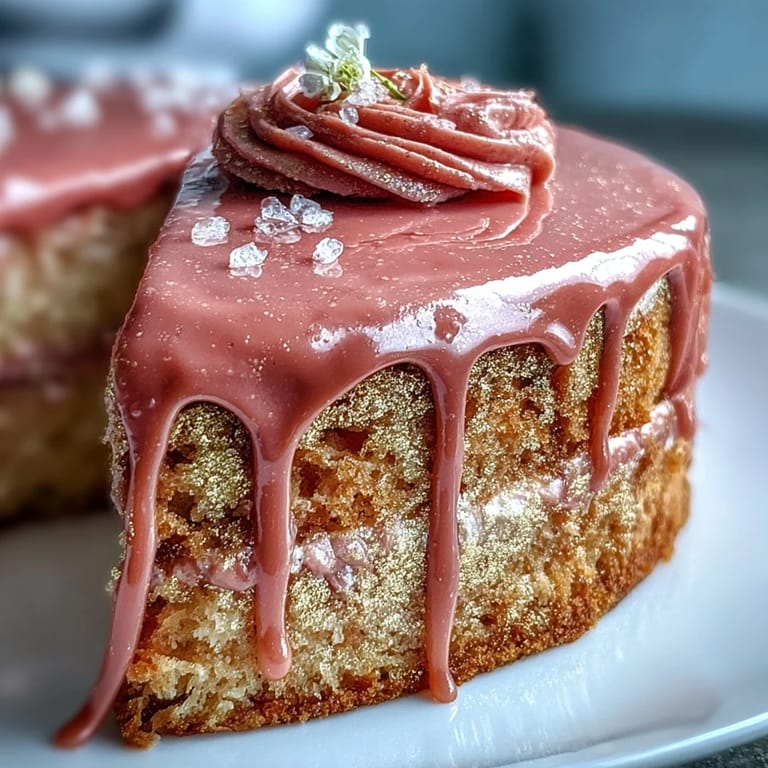
- Melt white chocolate and cream, then cool slightly; mix luster dust with vodka to form your shimmering gold paint.
- Drip and Paint:
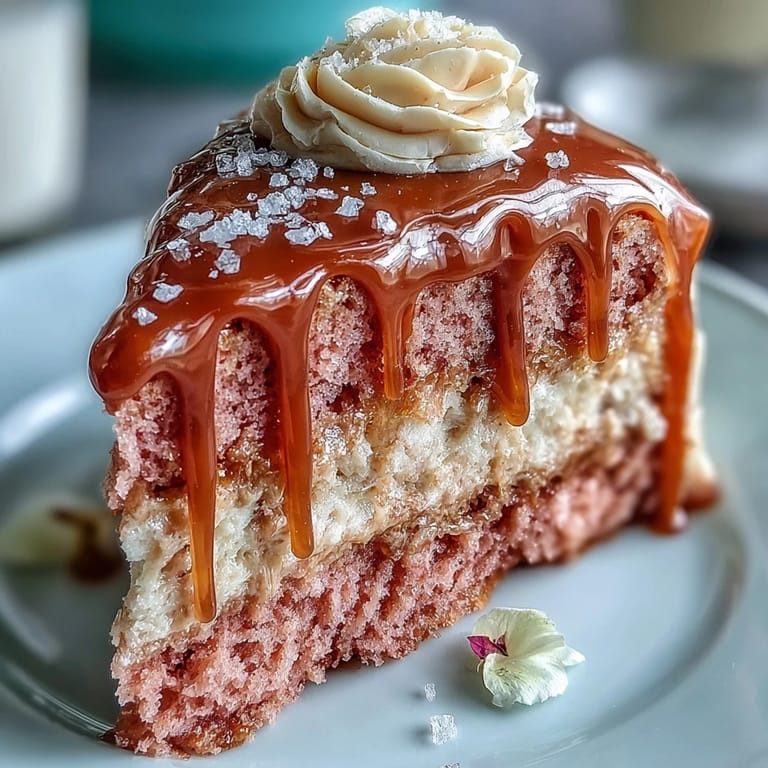
- Spoon the cooled chocolate around the cake edge and let it cascade—then transform the drips into gold magic with your paintbrush.
- Decorate to Finish:
- Sparkle it up with edible rose petals, gold accents, or berries for a truly bridal flourish.
 Save to Pinterest
 I'll never forget watching the bride's face as she saw the cake come out—her eyes sparkled even brighter than the gold drips. Somehow, amidst the mess of spatulas and laughter, this cake became not just dessert, but the star of her day.
What Makes This Cake Party-Perfect?
Every time I've brought this to a celebration, the excitement starts as soon as the cake box is opened. People look for an excuse to linger at the dessert table, almost reluctant to cut into something that so clearly says 'special occasion.' If you've ever wanted your baking to make a statement, this is the crowd pleaser you've been searching for.
Secrets to a Plush, Moist Crumb
The combination of buttermilk and oil is my silent hero here, keeping the cake so moist it practically melts on your fork. I've learned that room-temperature eggs and buttermilk help everything blend smoothly—no pockets of dry flour or dense bits. Don't skimp on mixing, but resist overdoing it—once that flour disappears, you're done.
Making the Gold Drip Shine
Getting the white chocolate the right consistency for that dramatic drip can take a little practice, but letting it cool briefly first keeps the drips from pooling at the base. Mixing the gold luster dust with a high-proof clear liquid makes it brush on like real paint. When in doubt, go slow—it's easier to add more gold shimmer than to fix a smudged drip.
- Have small baking tools handy to fix any drip mishaps on the fly.
- Chill the cake well so the drips set instantly and stay neat.
- Always step back and admire before serving—you've earned that moment!
 Save to Pinterest
 If this cake finds its way onto your table, expect to gather a crowd before the first slice is cut. Happy baking—may your celebrations always have a hint of sparkle (and maybe a gold drip or two)!
Recipe FAQs
- → Can I omit the alcohol without losing flavor?
Yes — substitute rosé with equal parts nonalcoholic sparkling rosé, white grape juice, or additional buttermilk. You’ll retain moisture and a mild fruit note while keeping the batter balanced.
- → How do I prevent a soggy crumb when adding the buttercream?
Ensure cakes are completely cool before stacking. Apply a thin crumb coat and chill for 20–30 minutes to set before the final frosting layer; this traps crumbs and gives a smooth finish.
- → What’s the best way to get an even gold drip?
Cool the white chocolate drip until slightly thickened but still pourable, then drizzle from the edge with a spoon or squeeze bottle. Let it set, then mix luster dust with a clear food-safe extract and paint details gently with a thin food brush.
- → Which rosé works best for flavor?
Choose a dry or off-dry rosé with light berry and floral notes; a sparkling rosé adds brightness. Avoid overly tannic or heavily oaked bottles to keep the cake’s delicate profile.
- → How far in advance can it be made and stored?
Assemble and chill the cake up to one day ahead. Store covered in the refrigerator and bring to room temperature about 1 hour before serving for best texture and flavor.
- → Are there safety tips for using edible gold luster?
Only use products labeled edible. Mix luster dust with a food-safe clear spirit or extract for painting; avoid non-edible metallic paints and always check manufacturer guidance.