 Save to Pinterest
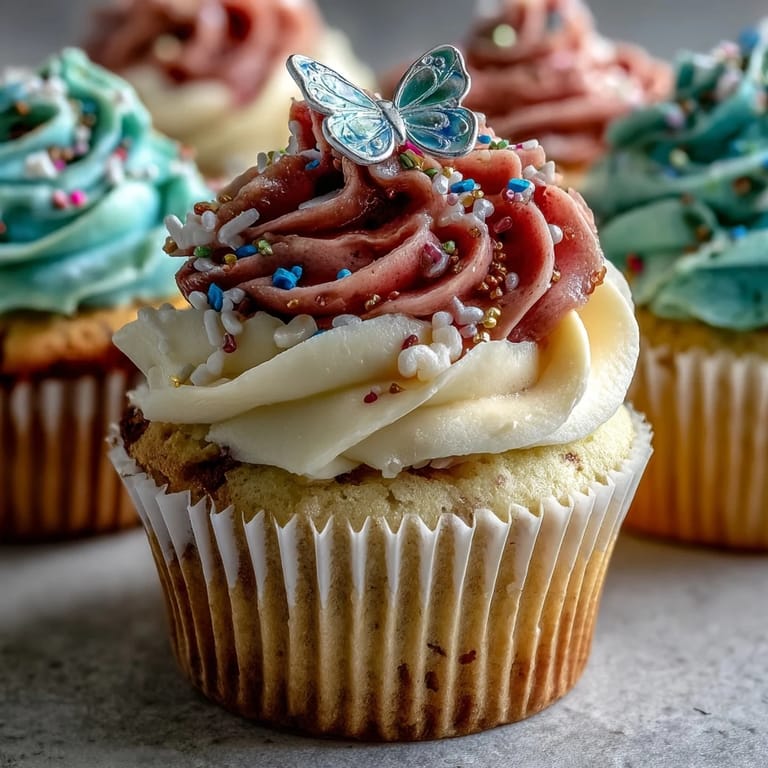
 My kitchen seemed to brighten as soon as I started these spring cupcakes: sunlight lacing through the window, soft music humming in the background, and the delicious possibility of pastel buttercream. Folding in flour among whisps of vanilla, I couldn't help but smile, thinking how decorating cupcakes reflects the optimism of spring—each swirl a tiny celebration. There's something playful about creating edible butterflies, and the fun of tinting large bowls of frosting left me with streaks of color on my hands and apron. Watching batter rise through the oven window, I realized there's a balance between precision and creativity in a recipe like this. Even a tray of unadorned cupcakes can instantly feel like a party with a handful of bright sprinkles.
I once made these cupcakes for a friend's baby shower, and the moment everyone saw the fluttering butterflies on top, an audible gasp traveled around the room. One guest quietly confided that she almost didn't want to eat hers because it looked 'too perfect.' Seeing cupcakes spark that kind of joy definitely made the floury counters worth it. I'll never forget the delighted giggles as frosting-tipped fingers made their way from plate to mouth. Even my skeptical brother admitted he'd never seen 'cupcakes with wings' before.
Ingredients
- All-purpose flour: Sift it well for the softest crumb and always measure by spooning into your cup, not scooping—this prevents dense cupcakes.
- Baking powder & baking soda: The dynamic duo for a perfect springy texture, but be careful not to use too much or the flavor will turn soapy.
- Salt: Just a pinch sharpens the sweet flavors—don't skip it.
- Unsalted butter (softened): Creaming until fluffy is key; using butter still cool from the fridge leaves lumps.
- Granulated sugar: Gives structure and gentle sweetness, so don't reduce it by much or your cakes may dry out.
- Eggs (room temperature): They bind all the ingredients without splitting your batter; leaving them on the counter for 30 minutes works wonders.
- Pure vanilla extract: Use the good stuff for a fragrant, authentic flavor that holds its own against the buttercream.
- Whole milk (room temperature): Helps create tender, moist cupcakes—anything colder may shock your batter.
- Powdered sugar (sifted): Essential for silky buttercream; any clumps won't blend out later.
- Gel food coloring: Gel is the secret to pastel tones without thinning the frosting—just a toothpick-sized dab goes a long way.
- Edible butterfly decorations: Quick to add but always double-check labels for allergens.
- Sprinkles (optional): A fun touch for extra sparkle; pastel nonpareils look especially sweet.
Tired of Takeout? 🥡
Get 10 meals you can make faster than delivery arrives. Seriously.
One email. No spam. Unsubscribe anytime.
Instructions
- Prepare the tins:
- Line a 12-cup muffin tin with pretty cupcake liners and preheat your oven to 350°F (175°C); the anticipation heightens once you feel the warm air wafting from the oven.
- Mix the dry ingredients:
- In a medium bowl, whisk together flour, baking powder, baking soda, and salt until even—the gentle scrape of a whisk against ceramic is one of my favorite subtle kitchen sounds.
- Cream butter and sugar:
- With your mixer, blend the softened butter and sugar until it's pale and fluffy, about 2-3 minutes; stop to inhale the buttery sweetness as air works its magic.
- Incorporate eggs & vanilla:
- Beat in the eggs, one at a time, followed by the vanilla; take a moment to scrape down the bowl so everything melds together.
- Combine wet and dry:
- Add the dry ingredients to the wet in two batches, alternating with milk, only mixing until combined; overmixing will toughen your cupcakes.
- Fill and bake:
- Divide the batter between the liners, filling each two-thirds full, and slide them into the oven; bake for 18-20 minutes until a toothpick inserted in the center comes out clean.
- Cool completely:
- Transfer to a wire rack, letting the smell fill the kitchen—it’s worth the patience to let them cool for perfect frosting later.
- Make the buttercream:
- Beat softened butter until creamy, then gradually add sifted powdered sugar; once blended, pour in milk and vanilla, and beat until the mixture is light and cloudlike.
- Tint and swirl:
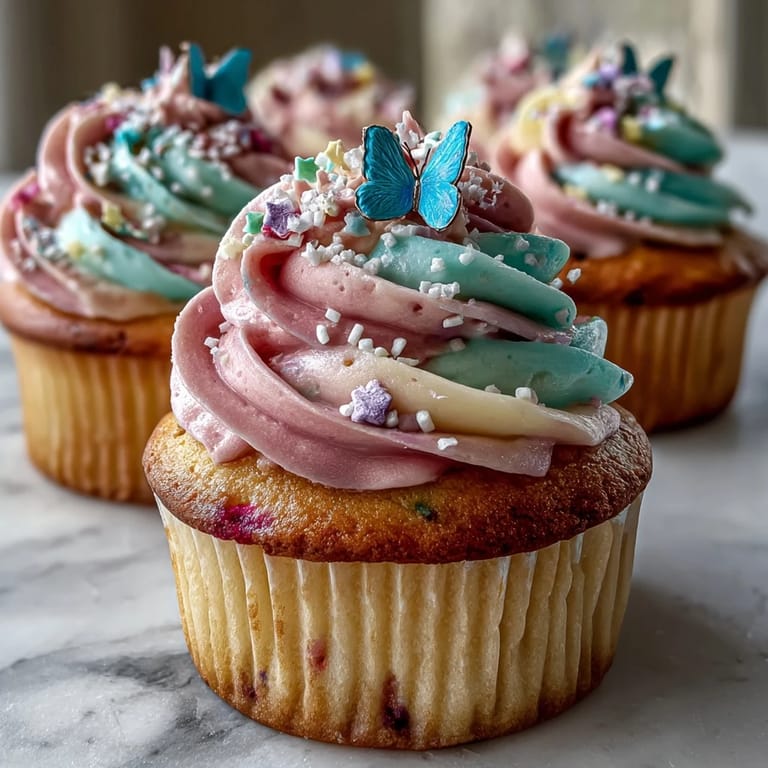
- Divide buttercream into bowls and blend in different pastel gel colors; spoon alternate colors next to one another into a piping bag fitted with a large star tip, aiming for a marbled swirl.
- Decorate the cupcakes:
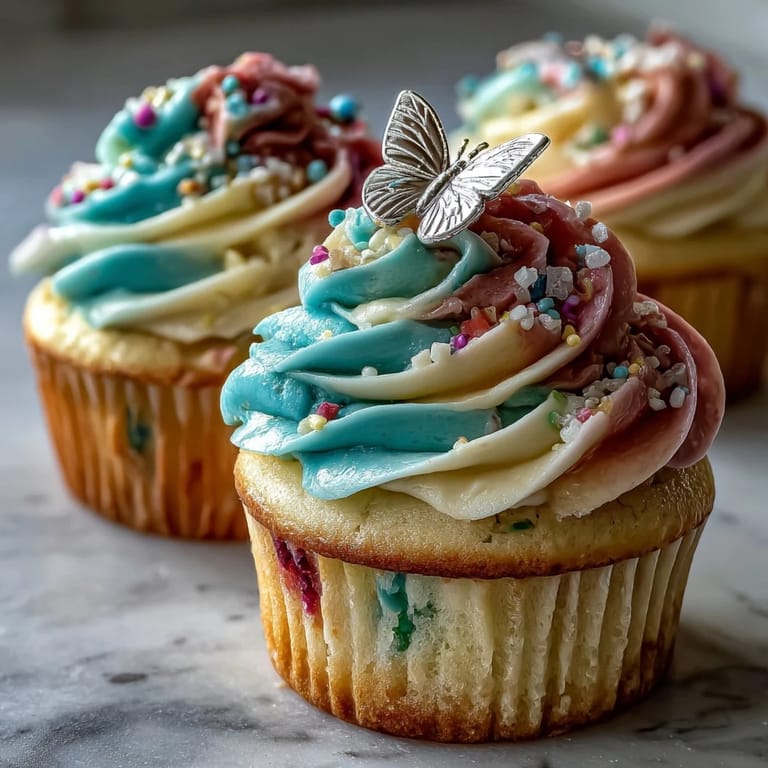
- Pipe buttery swirls onto cooled cupcakes, then gently perch a butterfly on each one and scatter with sprinkles, letting your creativity take the lead.
 Save to Pinterest
 The first time I served these cupcakes, a young cousin tried catching one of the butterfly decorations as if it were real, giggling with sticky fingers. At that table, cupcakes became more than dessert—they transformed the afternoon into something lighthearted and memorable. That moment convinced me that food can give joy in ways we rarely expect. Now, every time I make these, I can't help but smile remembering her fluttery chase. No party ever seems too grown up for a little edible whimsy.
How to Create the Perfect Pastel Swirl
Red and blue are easy to mix, but for those gentle pastel shades, stick with the tiniest touch of gel food coloring. I like to use a clean toothpick for each color, swirling it through the buttercream until the tone is just right. Once combined in the piping bag, piping a test swirl onto a plate helps preview the effect. Remember, colors will deepen a bit as they sit—so err on the pale side initially. If you end up with leftover buttercream, it keeps well in the fridge for impromptu graham cracker snacks.
Choosing and Decorating with Edible Butterflies
The first time I tried making my own edible butterflies, there were a fair number of lopsided wings and broken antennas on my counter. Store-bought wafer paper butterflies are a great shortcut, but homemade versions with candy melts can be surprisingly fun once you get the hang of piping simple wing shapes. Letting kids or guests stick on their own butterfly adds an interactive touch. I've noticed shimmer dust or tiny dots of icing can bring these little creatures to life. Just remember to handle them gently, as a heavy hand can flatten the wings.
Cupcake Storage and Make-Ahead Tips
If you want to bake ahead, store plain cupcakes in an airtight container at room temperature for up to two days. It's best to frost them the day you'll serve for the freshest look. Leftover cupcakes will keep well in the fridge, but bring them to room temp before enjoying so the frosting softens beautifully.
- Don't stack decorated cupcakes—they squish easily.
- Store edible butterflies separately if you're prepping a day ahead.
- Fresh flowers on the serving tray look lovely but should never touch the cakes directly.
 Save to Pinterest
 May your kitchen be filled with color, laughter, and plenty of edible butterflies this spring. Here's to making every celebration just a little more magical and sweet.
Recipe FAQs
- → How do I achieve vibrant pastel buttercream?
Gel food coloring is recommended for producing vivid pastel hues without thinning the buttercream. Mix colors separately, then swirl together when piping for a decorative effect.
- → Can I substitute almond extract for vanilla?
Yes, almond extract adds a subtle twist to the cupcakes and buttercream. Adjust quantity to taste for a delicate flavor.
- → What's the best way to make butterfly decorations?
Create homemade butterflies by piping melted candy melts onto parchment in butterfly shapes, allowing them to set. Alternatively, use ready-made edible butterflies or wafer paper decorations.
- → How do I store these cupcakes?
Keep cupcakes in an airtight container at room temperature for up to two days, or refrigerate for longer freshness. Add decorations just before serving for best appearance.
- → Can I make the cupcakes ahead of time?
Bake cupcakes up to a day in advance and store unfrosted. Prepare and apply buttercream and decorations on the day you serve them.