 Save to Pinterest
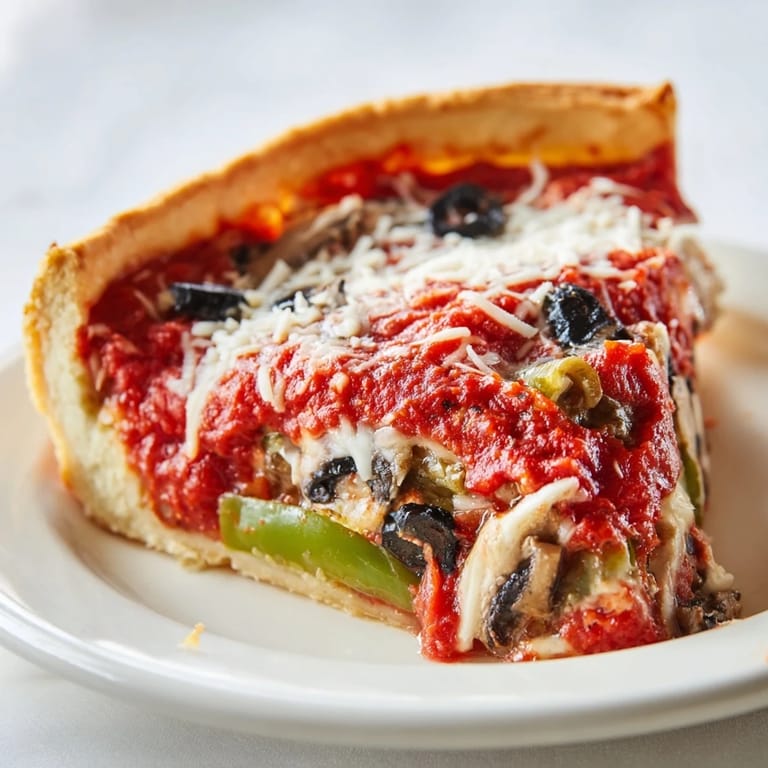
 The first time I made deep dish pizza, I was trying to recreate a memory from a rainy weekend in Chicago, standing in line at a place where the pizza arrived at the table practically steaming, so thick and buttery you needed a fork. I was convinced it was impossible to make at home until my neighbor casually mentioned she'd figured it out, and suddenly I was determined to crack the code. Turns out, the secret was less mysterious than I thought—just patience, good butter, and not being afraid of a really generous cheese layer.
I remember the kitchen smelling like yeast and garlic while my kids hovered around the oven window, completely mesmerized by the cheese bubbling and browning. One of them asked why we couldn't just do this every week, and I realized it wasn't really about the pizza anymore—it was about all of us standing around something warm and homemade. That question alone made me glad I'd taken the time to learn how.
Ingredients
- All-purpose flour (3 1/4 cups): The foundation of your crust; don't skip it for bread flour or you'll end up too chewy.
- Yellow cornmeal (1/2 cup): This is what gives you that distinctive gritty, crispy bottom that makes people ask what you did differently.
- Active dry yeast (2 1/4 teaspoons): Make sure it's fresh and your water is warm, not hot—yeast is temperamental about temperature.
- Warm water (1 1/4 cups): Around 110°F is the sweet spot; test it on your wrist like you're checking a baby's bottle.
- Olive oil and melted butter (1/4 cup plus 2 tablespoons): The butter is what makes this rich and reminiscent of that Chicago magic; don't substitute with oil alone.
- Shredded mozzarella cheese (3 cups): Low-moisture mozzarella works best here so you don't end up with a soggy pizza.
- Grated Parmesan (1/2 cup): Adds a sharp, nutty note that keeps things interesting.
- Crushed tomatoes (28 oz can): Buy good ones—they're literally the star of the sauce.
- Fresh garlic (3 cloves): Mince it fine so it disperses evenly through the sauce.
- Dried oregano and basil (1 teaspoon each): These flavors are classic for a reason; dried works beautifully here.
- Optional toppings (pepperoni, mushrooms, bell peppers, olives): Use what you love; I always go heavier on vegetables than meat.
Tired of Takeout? 🥡
Get 10 meals you can make faster than delivery arrives. Seriously.
One email. No spam. Unsubscribe anytime.
Instructions
- Wake up the yeast:
- Pour your warm water into a large bowl and sprinkle the yeast over it, then wait for about five minutes until it looks foamy and alive on top. If it doesn't foam, your yeast is dead and you'll need to start over—it's disappointing but better to know now.
- Build the dough:
- Add your flour, cornmeal, salt, olive oil, and melted butter to the yeasty water and mix until everything comes together into a shaggy mass. Knead it for five to seven minutes until it becomes smooth and elastic, either by hand or in a stand mixer—you'll know it's ready when it springs back when you poke it.
- Let it rise:
- Transfer your dough to a greased bowl, cover it loosely with plastic wrap or a towel, and let it sit somewhere warm for about an hour until it's roughly doubled in size. A turned-off oven works great for this.
- Make the sauce while you wait:
- Heat olive oil in a saucepan over medium heat and add your minced garlic, letting it soften and become fragrant for about a minute. Pour in your crushed tomatoes along with oregano, basil, sugar, salt, and pepper, then simmer gently for twenty minutes, stirring every so often, until it tastes like something you'd want to eat.
- Prep your pan:
- Preheat your oven to 425°F and generously grease a 12-inch deep-dish pizza pan with olive oil. A round cake pan works in a pinch if that's all you have.
- Shape the dough:
- Once your dough has risen, press it firmly into your oiled pan, working it up the sides to create those characteristic high edges that catch and crisp up in the oven. Don't be afraid to really push it; you want it an even thickness throughout.
- Layer like you mean it:
- Sprinkle your mozzarella cheese evenly over the dough base first, then add whatever toppings you've chosen, scattering them so each slice gets a bit of everything. Go easy here or you'll overwhelm the sauce later.
- Sauce and finish:
- Pour your tomato sauce evenly over the toppings, spreading it gently so it reaches all the edges, then top with grated Parmesan. It should look generous but not swimming.
- Bake it:
- Bake for 35 to 40 minutes until the crust is golden brown and the sauce is gently bubbling around the edges. If the edges start browning too fast, cover them loosely with foil for the last ten minutes.
- Rest and serve:
- Let the pizza sit for about ten minutes before slicing—this helps everything set and makes cutting cleaner. This is hard to do when it smells this good, but your pizza will thank you.
 Save to Pinterest
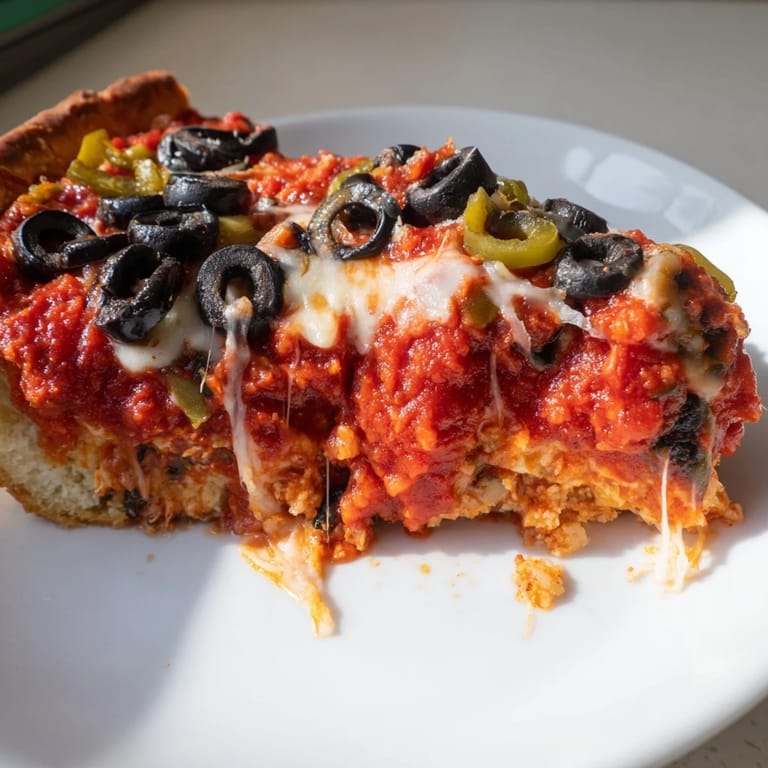
 There's something almost ceremonial about slicing into a deep dish pizza you've made yourself, watching the cheese pull away from the sides of the pan. The feeling of having done something that seemed complicated but turned out to be entirely within reach is its own kind of satisfaction.
Why Deep Dish Matters
Deep dish pizza isn't just a different thickness—it's a philosophy about how much joy you can pack into one slice. The high edges mean more crispy, golden crust to balance the richness of the cheese. The sauce sits on top rather than soaking in, so every bite has that bright tomato flavor intact. It's the kind of pizza that demands you sit down with it, not one you grab while standing at the counter.
Building Flavor Into Every Layer
I learned the hard way that each layer of a deep dish pizza needs to contribute something—the cheese shouldn't just be filler, the sauce shouldn't be an afterthought, and the toppings shouldn't be random. Think of it like building a song: the crust is the rhythm, the cheese is the harmony, the toppings are the melody, and the sauce ties it all together. When you respect each element, everything sings.
Making It Your Own
The beauty of making deep dish at home is that you can adjust it to your exact preferences without compromise. Want more garlic in the sauce? Go for it. Prefer a thinner layer of cheese? You're the boss. Love vegetables more than meat? Load it up guilt-free.
- Try mixing your cheeses—a blend of mozzarella, provolone, and a little smoked gouda adds incredible depth.
- Don't be shy with fresh herbs like torn basil or oregano sprinkled on top right before serving for a brightness that canned sauce alone can't deliver.
- If you're short on time, store-bought pizza dough works fine here; shape it into your pan, let it rise for 30 minutes, and pick up from the sauce step.
 Save to Pinterest
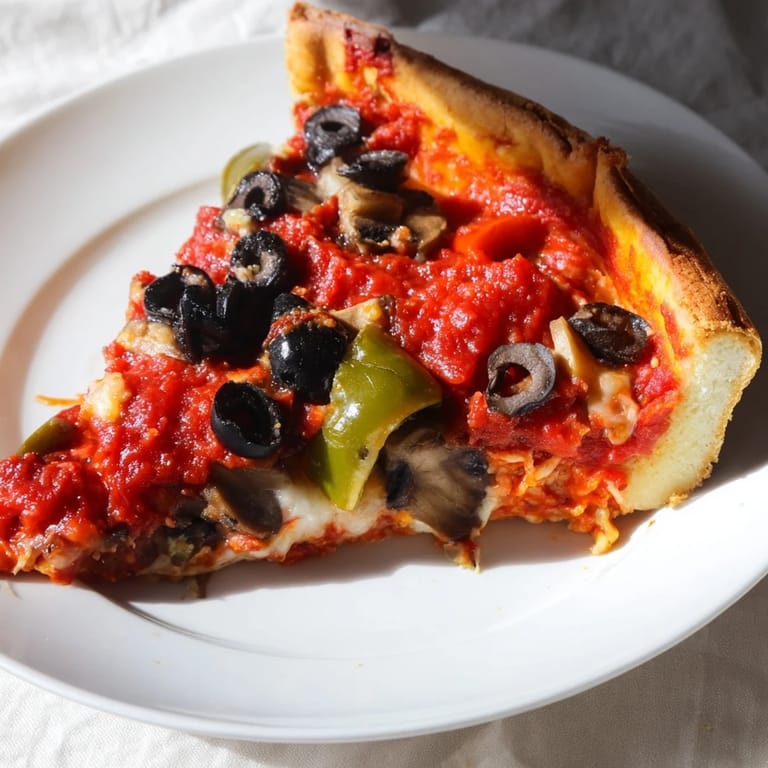
 Making a deep dish pizza from scratch is proof that the best restaurant meals are recreatable at home—and honestly, they taste better when they're yours. There's real magic in feeding people something you made with your own hands.
Recipe FAQs
- → What makes Chicago-style deep dish different?
It features a thick, buttery crust pressed high up the pan’s edges, holding hearty layers of cheese, toppings, and chunky tomato sauce.
- → How do you prepare the dough for deep dish?
The dough combines flour, cornmeal, yeast, warm water, olive oil, and melted butter, kneaded until smooth and left to rise for an hour.
- → Can the dish be made vegetarian?
Yes, omitting meat toppings and adding extra vegetables keeps it vegetarian while maintaining rich flavors.
- → What is the best way to prevent the crust from burning?
Cover the edges with foil during baking if they brown too quickly to maintain an even golden crust.
- → How long should the deep dish rest before serving?
Allow it to rest for about 10 minutes post-baking to let the layers set and enhance slicing.
- → Can store-bought dough be used?
Yes, using pre-made dough can save time without sacrificing much of the traditional texture.