Save to Pinterest
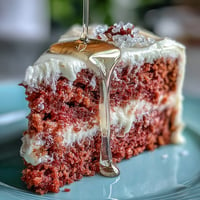
 My neighbor brought over a batch of these last Valentine's Day, and I actually gasped when I cut into one. The way the crimson swirl ran through that creamy layer felt like opening a present. I begged for the recipe immediately, then spent the next weekend testing it three times until I nailed the perfect swirl pattern. Now they're my go-to whenever I need something that looks as impressive as it tastes. These brownies have ruined me for ordinary desserts.
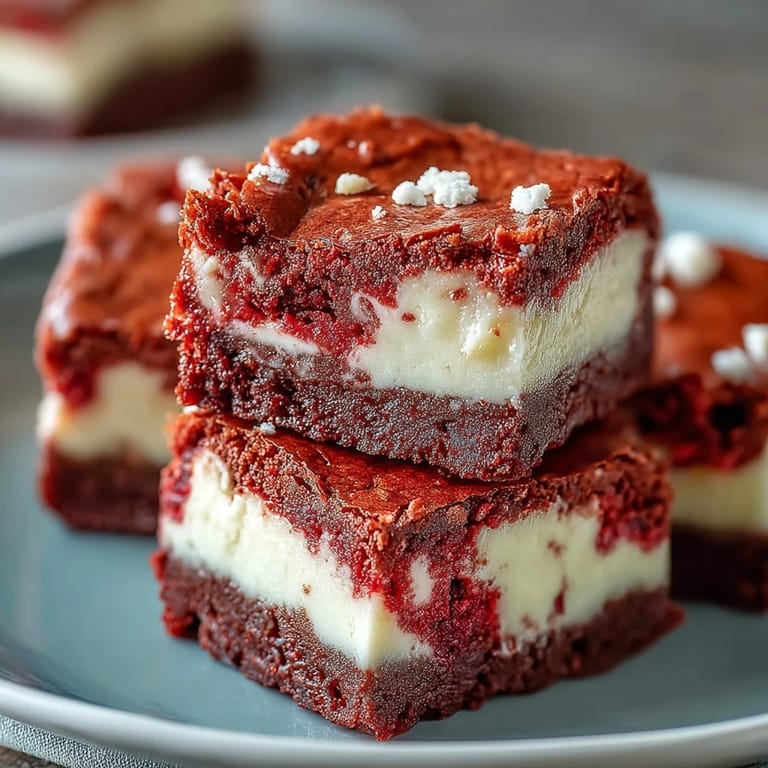
I made these for my book club last spring, and the room went silent when I set down the platter. Someone actually took a photo before anyone cut into them. Three people asked if I'd ordered them from a specialty bakery, and I just smiled and said they took less time than my morning coffee routine. The empty pan at the end of the night told me everything I needed to know.
Ingredients
- Unsalted butter: Melted butter gives these brownies their signature fudgy texture without making them greasy, and using unsalted lets you control the salt balance perfectly.
- Granulated sugar: This dissolves beautifully into the butter, creating that shiny, crackly top that makes brownies irresistible.
- Eggs (room temperature): Warm eggs blend smoothly without curdling the batter, giving you a silkier crumb throughout.
- Vanilla extract: A splash in both layers ties the flavors together and softens the cocoa's slight bitterness.
- Red food coloring: Gel works better than liquid because it won't thin your batter, and a little goes a long way for that dramatic color.
- All-purpose flour: Just half a cup keeps these dense and fudgy rather than cakey, which is exactly what you want.
- Unsweetened cocoa powder: This gives red velvet its subtle chocolate backbone without overwhelming the tangy cream cheese.
- Cream cheese (softened): Let it sit out for at least an hour so it whips smooth without lumps that'll show in your swirls.
Tired of Takeout? 🥡
Get 10 meals you can make faster than delivery arrives. Seriously.
One email. No spam. Unsubscribe anytime.
Instructions
- Get your pan ready:
- Preheat to 175°C and line your pan with parchment, letting the edges hang over like little handles. This trick means you'll lift the whole block out later instead of wrestling with a spatula in the corners.
- Mix the red velvet base:
- Whisk melted butter and sugar until it looks glossy, then beat in eggs, vanilla, and that vibrant red coloring. The batter should be smooth and almost shiny before you add the dry ingredients.
- Fold in the dry ingredients:
- Sift flour, cocoa, and salt right over the wet mixture, then fold gently just until you don't see streaks. Overmixing makes tough brownies, so stop while the batter still looks a little rough.
- Reserve and spread:
- Scoop out a quarter cup of batter into a small bowl, then spread the rest evenly in your pan. That reserved batter is your secret weapon for gorgeous swirls.
- Whip the cheesecake layer:
- Beat softened cream cheese until it's completely smooth, then add sugar, egg, and vanilla. Keep mixing until it's silky and pourable, with no lumps hiding in there.
- Layer and swirl:
- Pour cheesecake mixture over the red velvet, then drop spoonfuls of reserved batter on top. Drag a knife through in figure-eights or zigzags, but don't overdo it or the colors will muddy together.
- Bake until just set:
- Thirty-five minutes should leave the center barely jiggly and a toothpick coming out with moist crumbs. Overbaking turns the cheesecake grainy, so pull them when they still look a touch underdone.
- Chill completely:
- Let them cool on the counter, then refrigerate for at least two hours. Cold brownies slice clean and the flavors settle into something magical.
 Save to Pinterest
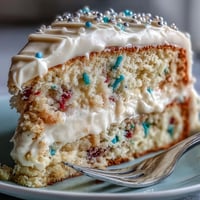
 The first time I served these at a potluck, someone asked if I'd gone to pastry school. I laughed and admitted I'd just followed the recipe exactly, measuring carefully and trusting the process. That moment taught me that looking professional is often just about patience and precision, not magic. These brownies gave me confidence to try recipes I used to think were beyond me.
Getting the Perfect Swirl
I learned the hard way that swirling is an art of restraint. My first batch looked like a muddy tie-dye shirt because I kept dragging my knife back and forth. Now I do one smooth figure-eight pattern, maybe two passes total, and the result is those clean, dramatic ribbons you see in bakery windows. Less is genuinely more here.
Storage and Make-Ahead Magic
These actually improve after a night in the fridge, the flavors marry and the texture gets even fudgier. I've kept them in an airtight container for five days, and they never dried out or lost their richness. If you're planning for a party, baking them the day before means less stress and better brownies.
Variations Worth Trying
I've folded white chocolate chips into the red velvet batter, and the little pockets of sweetness take these over the top. A friend swears by adding a teaspoon of espresso powder to deepen the chocolate flavor without making it taste like coffee. You could also sprinkle the top with crushed freeze-dried raspberries before baking for a tart pop of color and flavor.
- Try cream cheese frosting on top if you want to go full red velvet cake experience.
- Swap half the cocoa for dark chocolate cocoa powder for a richer, less tangy flavor.
- Use a 9x13 pan for thinner brownies that bake in about 25 minutes instead.
 Save to Pinterest
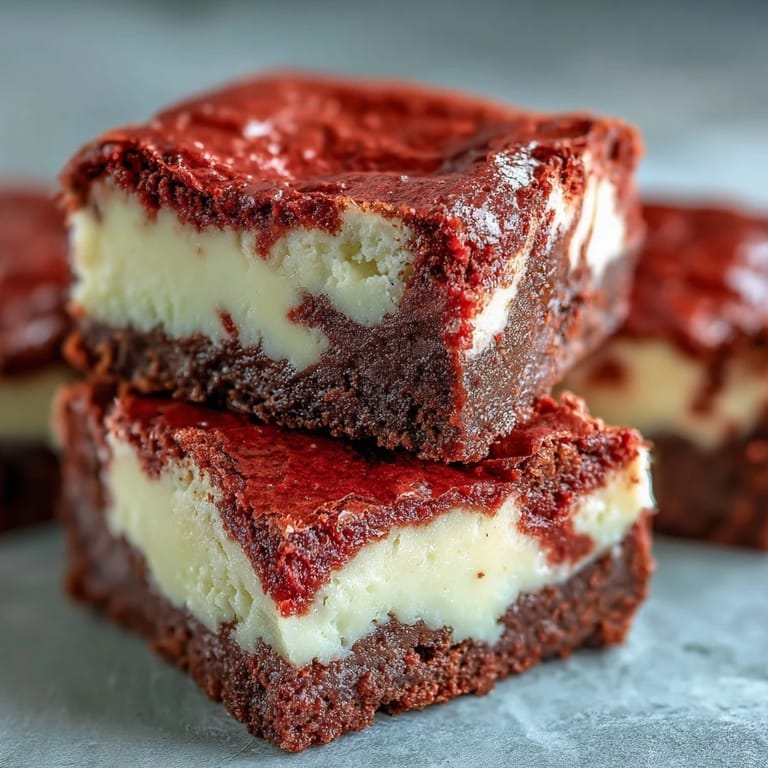
 Every time I pull these from the oven, I feel that same little thrill I got watching my neighbor's batch cool on her counter. They've become my signature dish, the thing people request by name, and I never get tired of seeing faces light up at first bite.
Recipe FAQs
- → Can I use natural red food coloring instead of artificial dye?
Yes, you can use beet powder or natural red food coloring, though the color may be less vibrant. You may need to adjust the amount to achieve your desired shade.
- → Why do my brownies turn out cakey instead of fudgy?
Overbaking is the most common cause. Remove them when a toothpick comes out with moist crumbs, not completely clean. Also, avoid overmixing the batter which can incorporate too much air.
- → Can I freeze these brownies for later?
Absolutely! Wrap individual squares tightly in plastic wrap, then place in a freezer bag. They'll keep for up to 3 months. Thaw in the refrigerator overnight before serving.
- → What's the best way to achieve clean swirls?
Use a knife or skewer to create figure-eight patterns through both layers. Don't overwork it—just a few gentle swirls will create beautiful marbling without muddying the colors.
- → Can I make these in a different pan size?
Yes, but adjust baking time accordingly. A 9x13-inch pan will yield thinner brownies that bake in about 25-30 minutes. A smaller pan will need more time.
- → How do I know when the cheesecake layer is properly set?
The center should jiggle slightly when gently shaken but not appear liquid. It will continue to set as it cools, so don't overbake or the texture will become dry.